


Membrane Cabinet Door Production Process

PRODUCTION PROCESS · 4 KEY STAGES
Membrane Cabinet Door Production Process
Step by step, from adhesive application to PVC or PET foil coating.
This guide explains adhesive application, waiting and drying, placement on support blocks and foil coating.
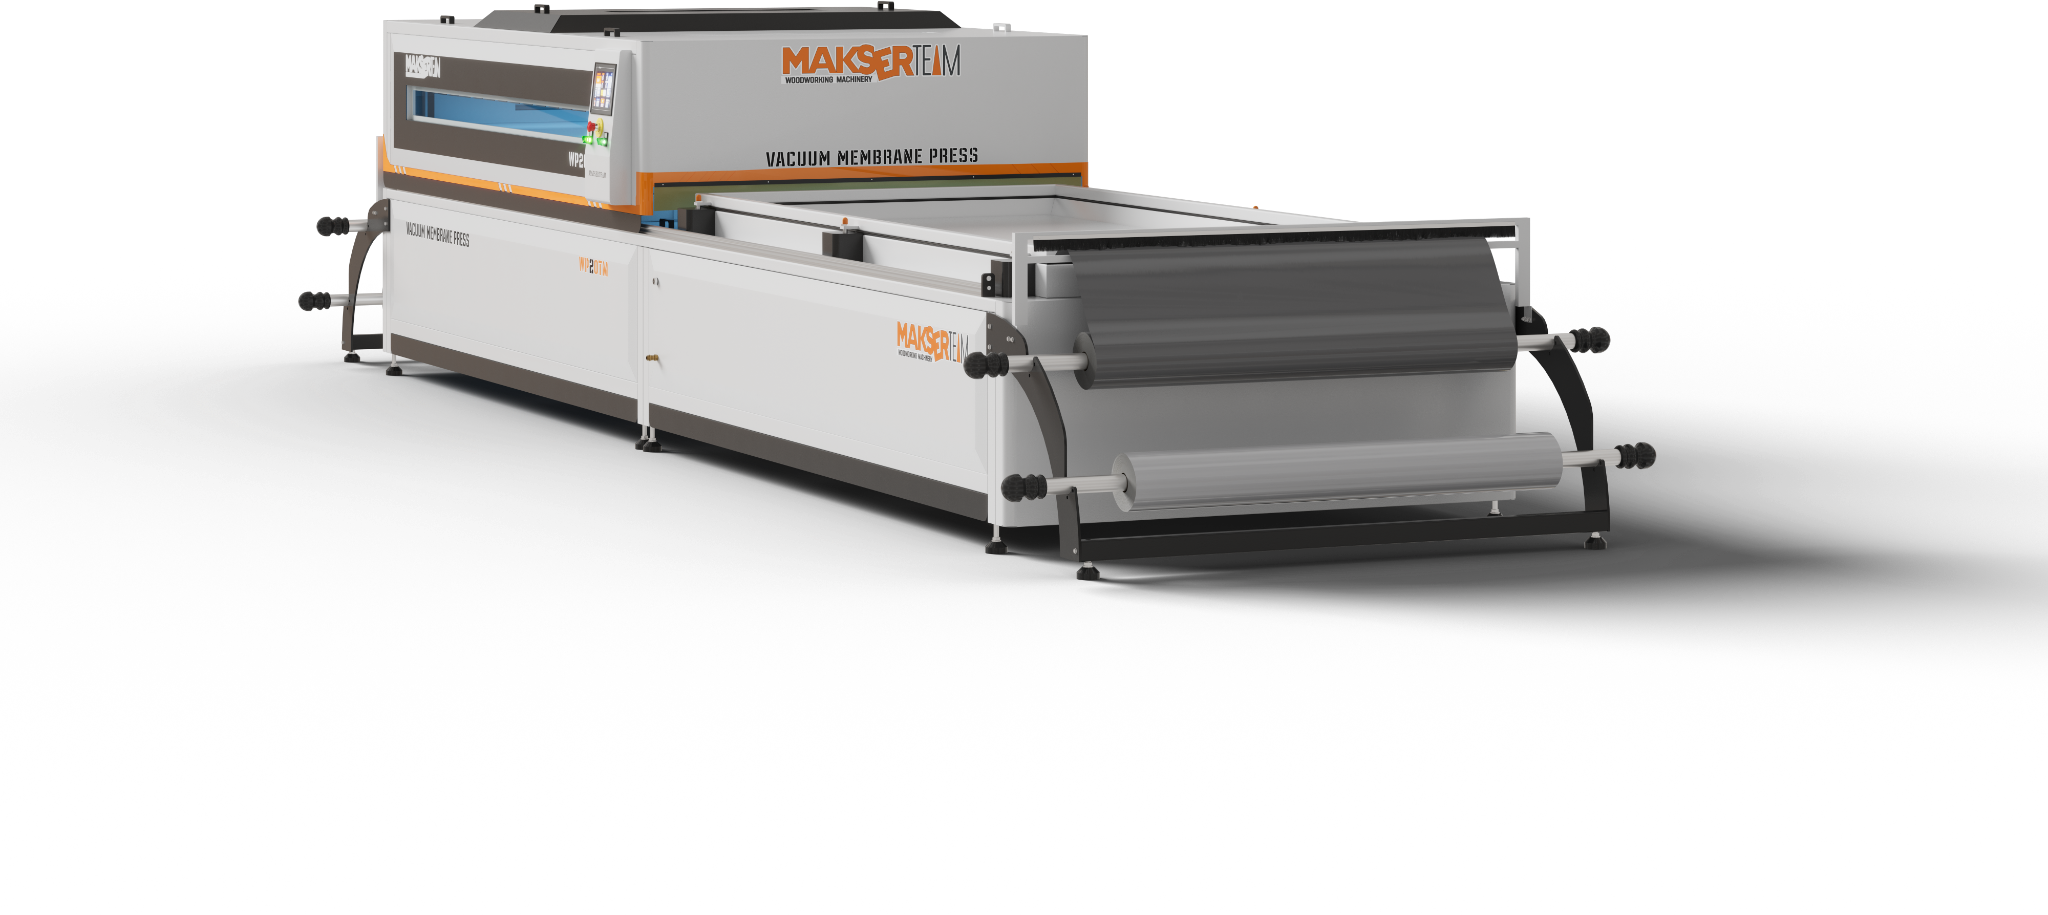
A clearer process, more efficient production.
4 key stages
STEP 1 / 4
Adhesive Application
Applying adhesive evenly to the cabinet door surfaces is a critical stage for durability, long service life and strong bonding performance.
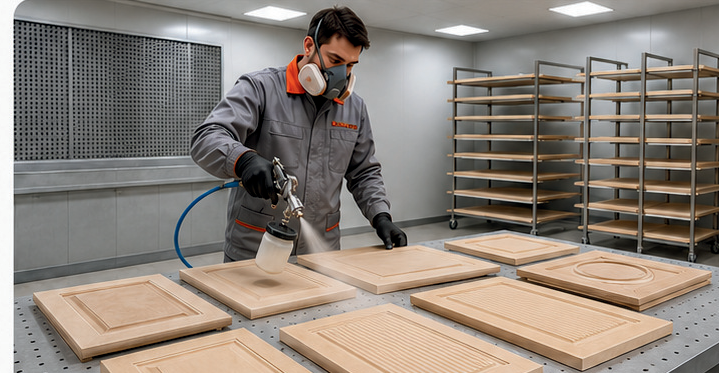
Adhesive Application Area
Where facilities permit, a separate, ventilated adhesive application area provides a more organised, clean and controlled working environment.
Workplace Safety
The operator should wear a mask, and the area should be adequately ventilated to protect employee health.
Adhesive Quality
Adhesive quality directly affects coating quality. Select an adhesive that is suitable for the product and application conditions.
Spray Gun and Nozzle Selection
Nozzles in the 1.4–1.8 mm range are generally preferred. Ask the supplier for the most suitable size for the adhesive being used.
Correct Application
Apply the adhesive evenly to the surface, machined profiles and edges.
Excessive Adhesive Application
Excess adhesive creates a layer on the surface. This layer can become visible after foil coating and reduce the quality of the finish.
Insufficient Adhesive Application
Insufficient adhesive reduces bonding performance and can shorten the service life of the coating.
Surface Inspection and Cleaning
Surfaces must be clean. Tool marks, CNC waviness, design errors and similar defects must be corrected first. Check again once the adhesive has dried. If there is build-up or roughness, lightly sand by hand and clean with air.
Second Coat (Optional)
Where necessary, and if suitable for the adhesive system being used, a second coat may be applied after the first has dried.
STEP 2 / 4
Waiting and Drying After Adhesive Application
After adhesive application, cabinet doors are left to dry under suitable ambient conditions. Drying time can vary with ambient temperature, air circulation and the adhesive system used.

Drying Time
Allow sufficient time for the adhesive to settle properly on the surface. The time may vary with ambient temperature and the adhesive system used.
Drying Racks
Arrange the cabinet doors neatly on racks. Keeping the parts from touching each other helps protect the surface quality.
Workspace Planning
Allow for operator access, foil unwinding space and loading clearances. Position racks far enough away to avoid obstructing the workflow.
Surface Inspection
Inspect the cabinet door surfaces after drying. There should be no build-up, roughness or unwanted marks on the surface.
Final Preparation
Check the cabinet doors one last time before loading the machine. If necessary, lightly sand by hand and clean with air.
Next Stage
Once dry, the cabinet doors are placed on support blocks in preparation for PVC or PET foil coating.
STEP 3 / 4
Placement on Support Blocks
After drying and final surface inspection, place the cabinet doors on support blocks on the worktable with suitable spacing. This arrangement helps the foil wrap the part more effectively, especially around the edges.
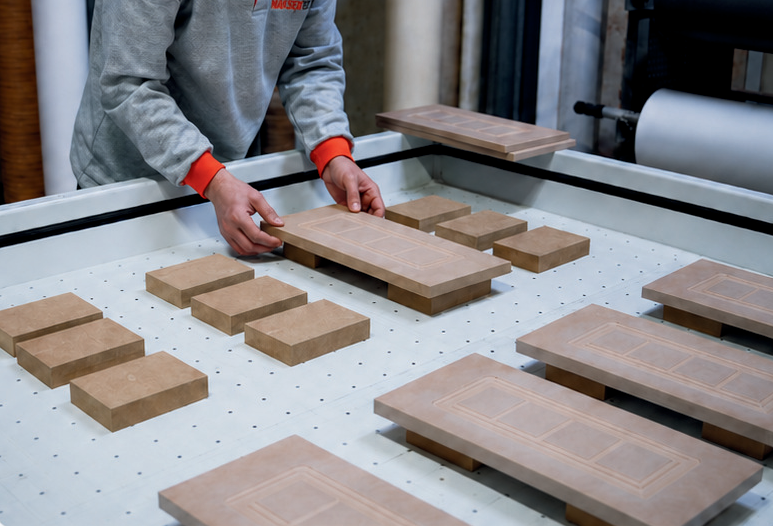
Recommended Support Block Size
Support blocks measuring 80 × 150 mm and 28 mm high are generally preferred in practice.
Support Blocks for Edge Wrapping
Cabinet doors that require edge wrapping should be raised on support blocks. This allows the PVC or PET foil to wrap around the edges more easily.
Spacing Between Parts
For applications with edge wrapping, a gap of 40–75 mm is ideally recommended. The distance may vary with foil thickness and the panel design.
When Edges Are Not Coated
Support blocks are not required when the edges are not being coated. Parts can be placed directly on the flat worktable.
Minimum Clearance
A gap of approximately 10 mm is often sufficient for applications without edge wrapping.
Balanced Placement
Arrange the parts evenly and neatly to avoid unnecessary empty space on the table and help minimise PVC foil waste.
STEP 4 / 4
PVC or PET Foil Unwinding, Heating and Vacuum Pressing
Lay PVC or PET foil evenly over the cabinet doors and pull it across the frame. Move the heating unit into position to heat the foil in a controlled manner.
The correct temperature, duration and controlled holding time directly affect coating quality and product life.
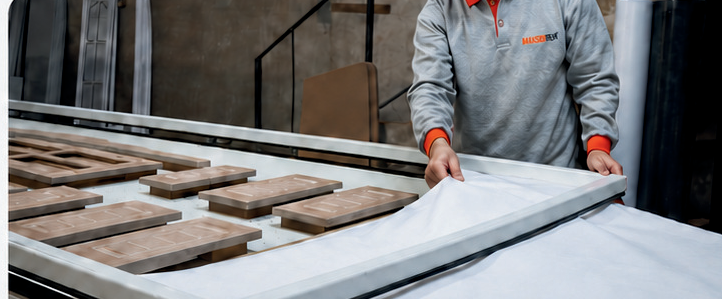
Foil Unwinding
Lay PVC or PET foil evenly across the worktable without wrinkles.
Initial Setup: Manual Mode
For the initial applications, use manual operation to observe the temperature at which the foil expands sufficiently. These values can then be entered into the automatic settings for automatic pressing.
Correct Heat
As the foil heats, it initially forms waves. Once the surface is smooth and stable, it is ready for vacuum pressing.
Preheating
On cold days, at the start of production, the empty worktable and heating unit may be preheated for approximately 30–60 seconds.
Vacuum Pressing and Holding
The heat may be switched off after vacuum pressing. Keeping the products inside for approximately 30–45 seconds can support better bonding.
Points to Watch
Excessive heat can cause burning or deformation, particularly in thin foils. Applying vacuum too early may reduce the durability of the bond.
RESULTS AND QUALITY
Final Result and Surface Quality
The correct adhesive, surface preparation, controlled drying, suitable placement and correct heat and vacuum settings work together to achieve high surface quality. The result is a smooth, uniform and attractive finish.
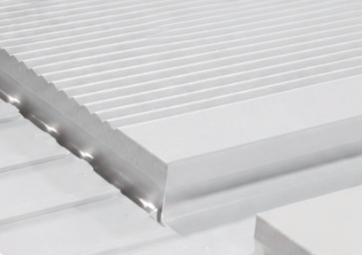
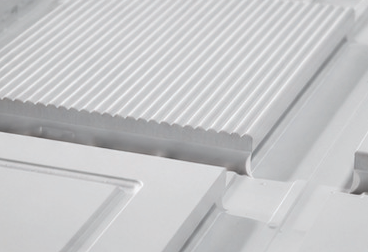
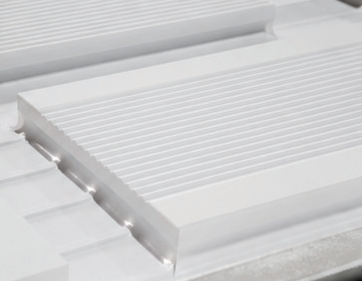
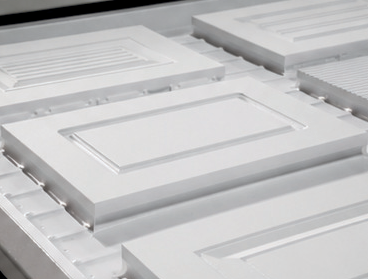
Smooth Surface
The correct process produces a uniform, clean and attractive surface finish.
Correct Edge Wrapping
Suitable preparation and settings provide consistent, strong coating around the edges.
Clear Profile Details
The design and pattern details remain clearly defined after coating.
Strong Bonding Performance
The correct adhesive and heat management contribute to a long-lasting bond.
Clean Workmanship
Surface preparation and controlled application are important for a flawless final appearance.
High-Quality Finished Product
Correct management of every stage delivers quality results that support customer satisfaction.
KEEP THE GUIDE
The same guide, available as a downloadable PDF.
Read the six-page MakserTeam Membrane Cabinet Door Production Guide or share it with your customers.